
The façade layout starts on the drawing
Horizontal panel courses give a façade a clear rhythm. Maintaining it requires shared level references, drawn joints and agreed corner and opening details. The decision to ‘install horizontally’ does not define panel type, support spacing, fasteners or load transfer. These must be part of the approved documentation for the specific facility.
For the wall panels covered by its instructions, Kingspan permits vertical or horizontal installation with suitably adapted structure and details. This does not mean any roof panel can be used as a wall panel or that fixing spacing is identical for every façade. Kingspan — sandwich panel installation instructions.
Checks before starting a course
- Check the sector number and panel label against the delivery schedule.
- Compare the installed support with the approved detail before creating concealed connections.
- Agree the level datum, corner grid lines and how to check the module across the façade.
- Identify where different panel thicknesses or types meet.
- Clarify terminations at industrial doors, personnel doors, parapets and adjacent façades.
Ruukki’s instructions emphasise checking module width and alignment of horizontal and vertical joints. Lifting device selection depends on the specific panel. The handling plan should therefore identify the system and accessories, not merely state ‘panel grab’. Ruukki — sandwich panel installation instructions.
The first section as a reference
Agree a reference section including at least a typical joint, fixing and part of a flashing. It does not replace the design or a test required by documentation. It gives the general contractor, manager and crew a common workmanship reference. A photograph of the approved section should state its location and drawing number; a wide façade view rarely shows the important detail.
Separate geometry from completeness on the inspection sheet. A straight joint line does not confirm that every concealed connection component is present. Likewise, neat flashing does not establish that its interface with another trade has been agreed. Resolve uncertainties before closing the detail while access remains possible.
What our projects demonstrate
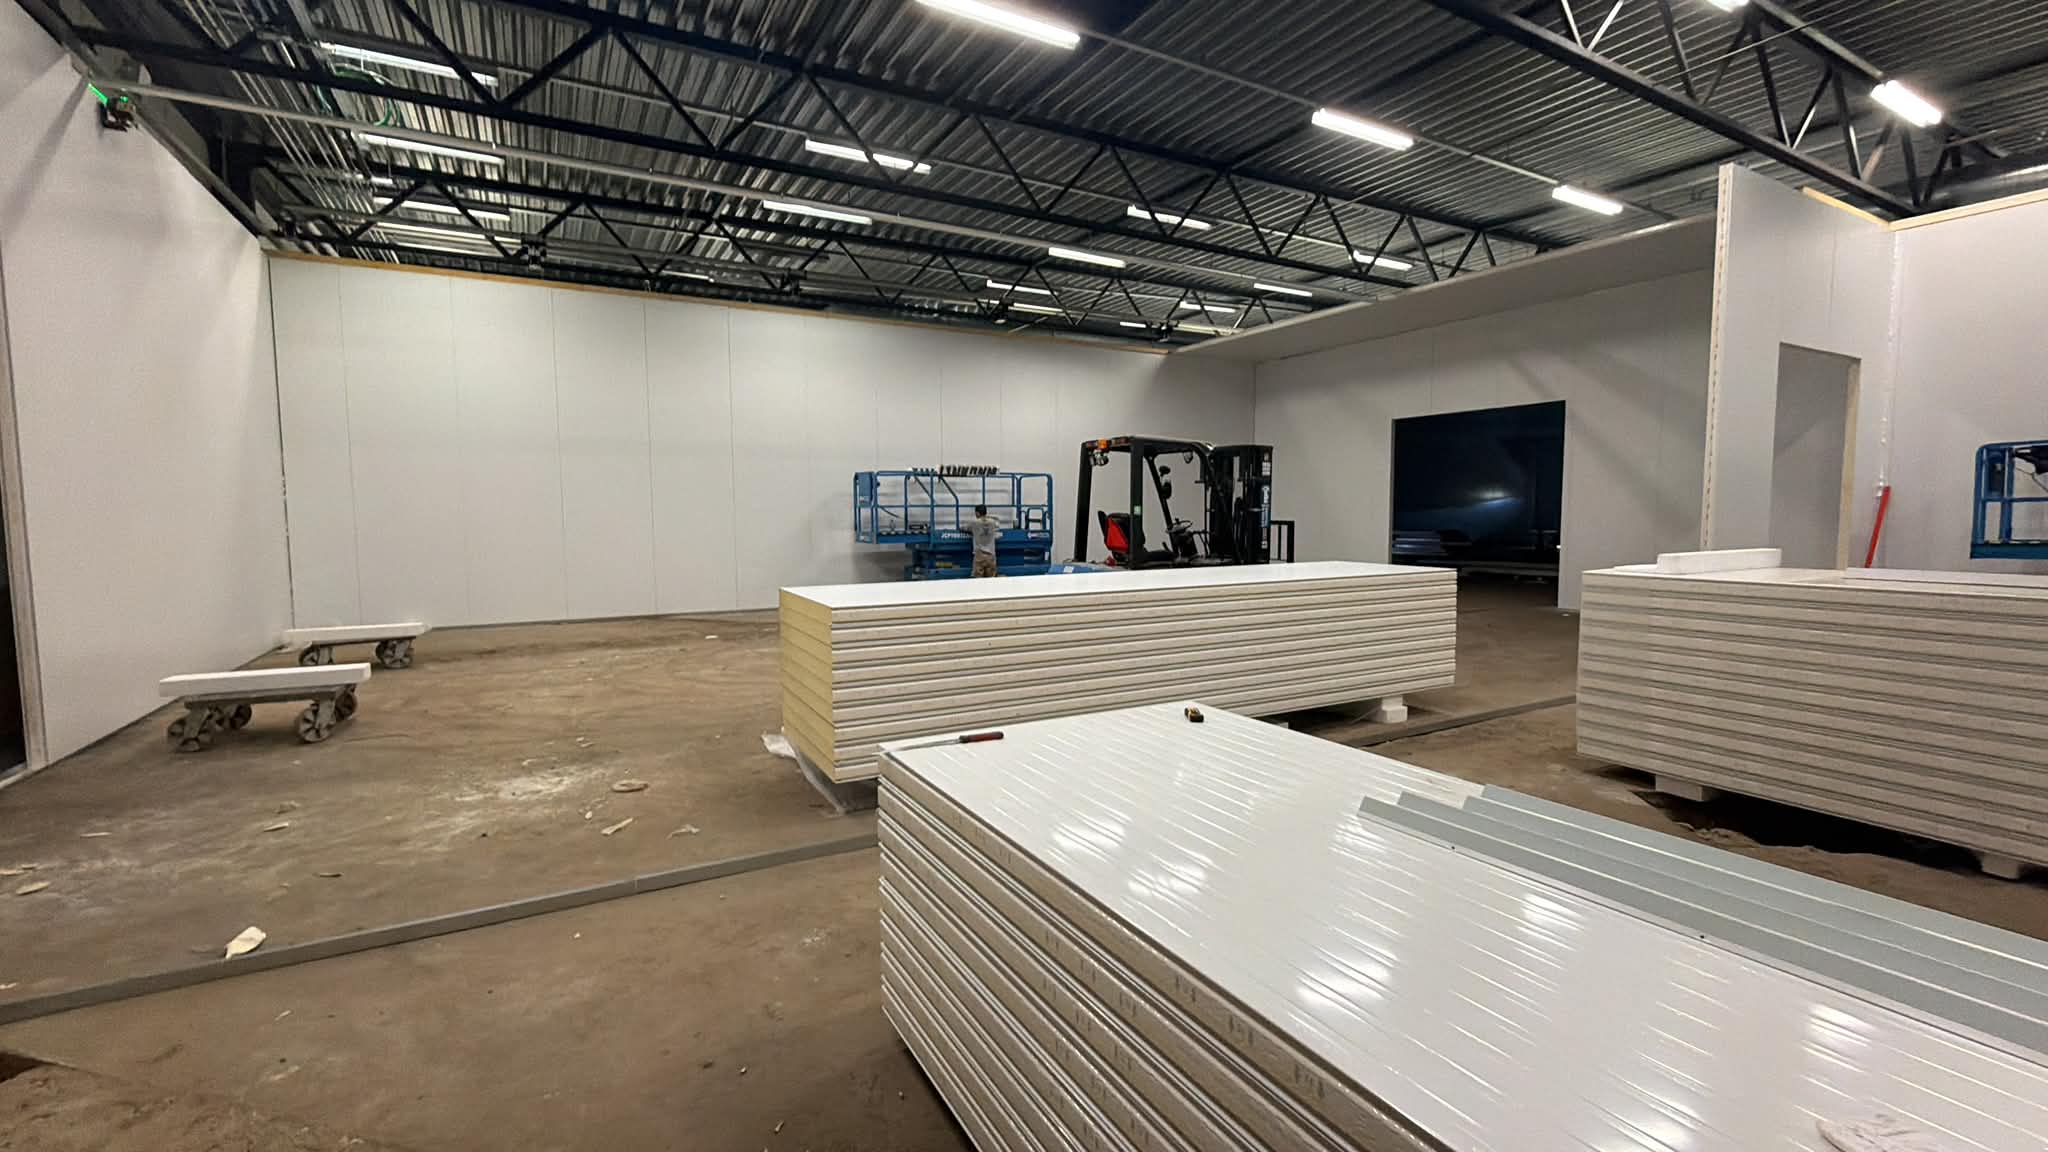
The example shows why an enquiry should include details at scope boundaries. Panel area and flashing length are different organisational items. A client comparing only the price per square metre may miss that offers cover different work. To assess horizontal installation, send an elevation with panel divisions, a connection section and a flashing schedule.
When to stop and clarify a discrepancy
If a supplied panel has a different designation from the schedule or a support differs from the drawing, describe the discrepancy before making the connection. Prepare a label photograph, element location and reference document number. You do not need to establish the cause immediately. Obtain a clear answer on whether the material is correct and which detail to use. Inform those ordering later batches too, so the issue does not recur in the next sector. A recorded decision explains why a particular option was installed.
Sources and documentation
Editorial update: 9 October 2026. The manufacturer and institutional sources used to check this information are listed below. The checklists and workflow examples were prepared by Panel Montage.
- Kingspan — sandwich panel installation instructions
- Ruukki — sandwich panel installation instructions
Information about the team's work is based on project documentation from 2025–2026. The public list of locations and scopes is available on our project map.